How to Build a Custom Gaming PC for an Optimal Performance
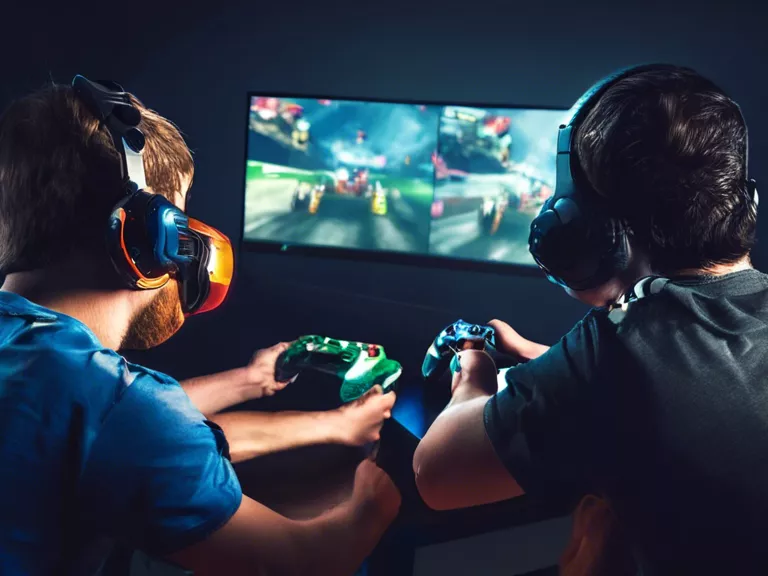
Are you tired of playing games on a computer that can't keep up with the latest graphics and processing demands? It may be time to consider building your own custom gaming PC. Building a gaming PC allows you to choose the components that best fit your needs and budget, ensuring optimal performance for all your favorite games. Follow these steps to build a custom gaming PC that will take your gaming experience to the next level.
Step 1: Choose Your Components
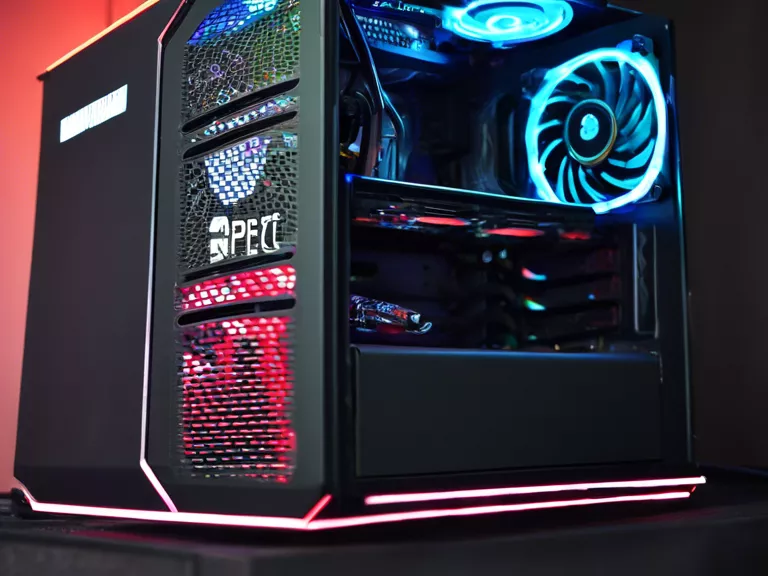
Start by selecting a high-quality processor, graphics card, motherboard, RAM, storage, power supply, and case. Make sure each component is compatible with the others and meets the requirements of the games you want to play.
Step 2: Assemble Your PC
Carefully install each component into your case, following the manufacturer's instructions. Make sure to connect all cables securely and properly manage cable organization to improve airflow and keep your system running cool.
Step 3: Install an Operating System
Once your PC is assembled, install an operating system such as Windows or Linux. This will allow you to run your games and other software on your new gaming PC.
Step 4: Update Drivers and Software
Make sure to update your graphics card drivers, motherboard drivers, and any other software to ensure optimal performance and compatibility with the latest games.
Step 5: Enjoy Your Gaming PC!
Once your custom gaming PC is up and running, it's time to enjoy all your favorite games at their highest settings. Sit back, relax, and immerse yourself in a gaming experience like never before.